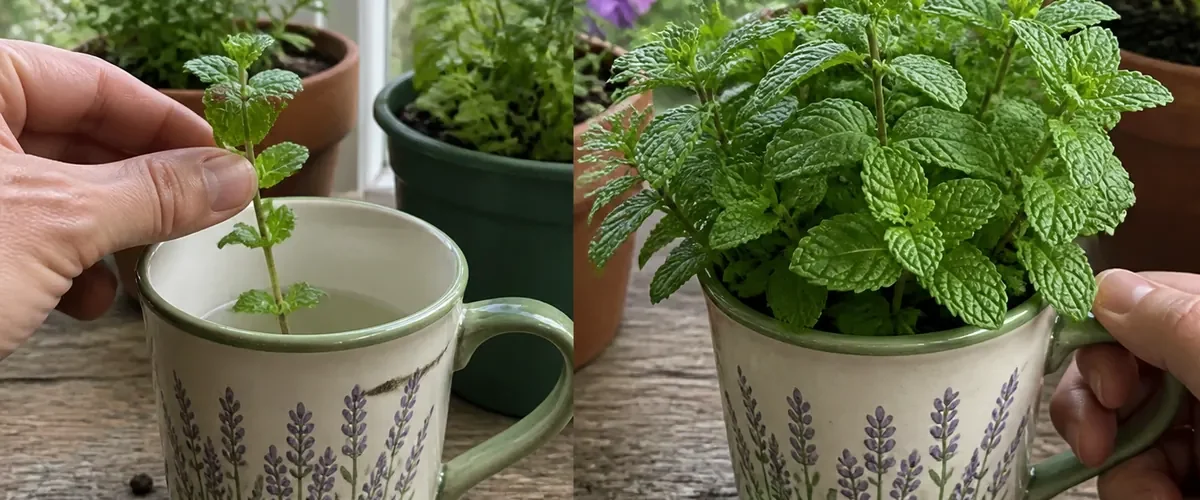
A decorative cup can hold a real mint harvest if it secretly behaves like a proper plant pot. Como plantar menta en una taza para decorar y perfumar toda la casa presents a mint cutting being planted in a decorative cup to scent an entire home and claims that one mint plant in a cup grows easily and perfumes every room.
One contained propagation ladder can produce a tiny mint start becoming a dense fragrant tabletop plant ready for repeated fresh harvests.
Set One Honest Mint Cup-to-Harvest Ladder Promise
Inside this compact setup, mint roots quickly and smells fresh when brushed or cut, but one plant will not continuously perfume a house. A cup without drainage can rot roots, and mint soon needs more room. A rooted cutting, nursery insert, bright light, pinching, and timely potting-up can build a compact fragrant harvest.
For one contained setup, the result to chase is a tiny mint start becoming a dense fragrant tabletop plant ready for repeated fresh harvests. Keep every move tied to a mint cutting rooted in a draining cup setup, branched by pinching, and moved before crowding limits its fragrant leaf harvest, so the method remains easy to stop, clean, and repeat.
The Six-Move Mint Cup-to-Harvest Ladder Routine
- 1. Cut below a living mint node. Take a clean nonflowering tip from a healthy plant, remove lower leaves, and keep several intact leaves above the future root zone.
- 2. Root in water or airy mix. Place the bare nodes in clean water or a moist propagation mix, keeping leaves dry and providing bright indirect light.
- 3. Build drainage inside the cup. Use a small nursery pot that fits the decorative cup or add a real drain hole safely, never relying on stones at the bottom.
- 4. Set the rooted stem at node depth. Plant without crushing new roots, firm the mix lightly, water through once, and empty any water trapped in the outer cup.
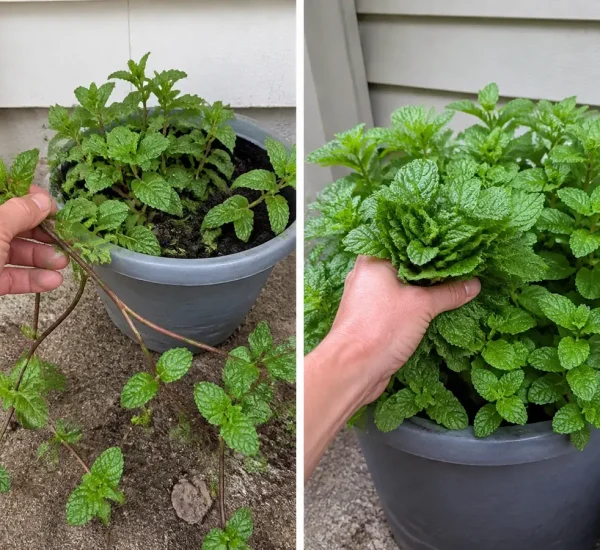
- 5. Pinch for a wider canopy. After active growth resumes, cut just above a leaf pair and repeat on longer shoots so side branches fill the small footprint.
- 6. Harvest before roots stall. Snip clean tips regularly, check root crowding and dry-down, and pot up when the cup can no longer support steady growth.
Compact Setup: Make Every Material Earn Its Space (2)
Start with cut below a living mint node, root in water or airy mix, build drainage inside the cup; they address the cause before another bottle, pot, or tool is added. Return unused materials to storage as soon as the first correction is complete.
Finish with set the rooted stem at node depth, pinch for a wider canopy, harvest before roots stall. That compact chain supports a mint cutting rooted in a draining cup setup, branched by pinching, and moved before crowding limits its fragrant leaf harvest and leaves the small area with a tiny mint start becoming a dense fragrant tabletop plant ready for repeated fresh harvests, not a second cleanup project.
Compact Setup: Clear a Small Work Zone and Inspect the Evidence (2)
For the compact mint cup-to-harvest ladder check, choose culinary mint, then inspect stem health, nodes, pests, root beginnings, cup stability, drainage, mix, light, heat near glass, moisture, airflow, tip growth, harvest frequency, and the next pot.
While testing mint cup-to-harvest ladder, keep nearby plants, food, tools, and personal items outside the work area. One clear before photograph and one marked check point are enough to make the compact result honest.
Keep These Four Mint Cup-to-Harvest Ladder Problems Out
- planting in a sealed mug. For mint cup-to-harvest ladder, it adds clutter without solving the strongest limit.
- burying mint leaves. For mint cup-to-harvest ladder, it can spread residue, moisture, pests, or stress beyond the test area.
- expecting room-filling perfume. For mint cup-to-harvest ladder, it turns one contained routine into repeated cleanup.
- keeping mint in a tiny cup forever. For mint cup-to-harvest ladder, it sacrifices a stable result for a fast-looking change.
Compact Setup: Plan the Wait Without Filling the Space Again (2)
For this small mint cup-to-harvest ladder setup, a cutting may perk up within days and form roots in roughly two to four weeks. Pinching starts branching after establishment; a full harvest takes longer. Move it when roots circle or dry-down becomes too fast.
During the mint cup-to-harvest ladder wait, leave only the essential setup in place. Do not add a second remedy because the final transformation needs more time than the first visible change.
Compact Setup: Finish With a Clean and Safe Small Space (2)
For a safe compact mint cup-to-harvest ladder routine, use clean scissors and eye protection if drilling ceramic, or choose a nursery insert. Grow only identified edible mint for cooking, keep stale water from children and pets, and wash leaves.
After mint cup-to-harvest ladder, remove waste, drain only where permitted, clean the tools, and return the area to normal use. The method has not worked if it leaves a hidden hazard behind.
Grow Mint This Way to Decorate and Freshen Every Room: Keep the Compact Win
Keep the routine only when it leaves a tiny mint start becoming a dense fragrant tabletop plant ready for repeated fresh harvests inside the same clean footprint. Start at cut below a living mint node, remove everything that did not help, and repeat the smallest successful version when the next normal-care cycle calls for it.