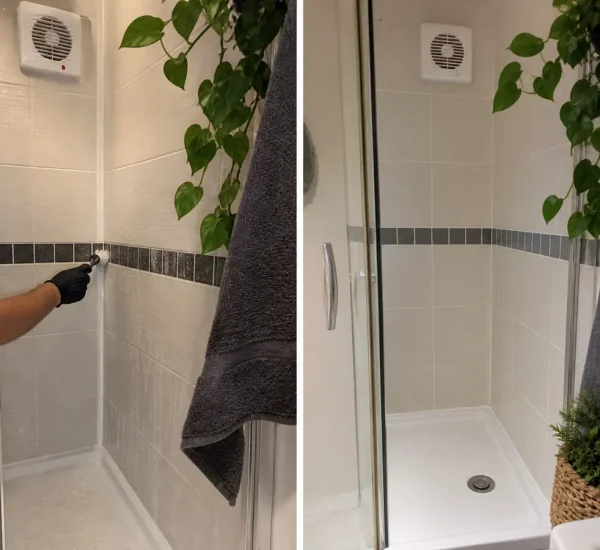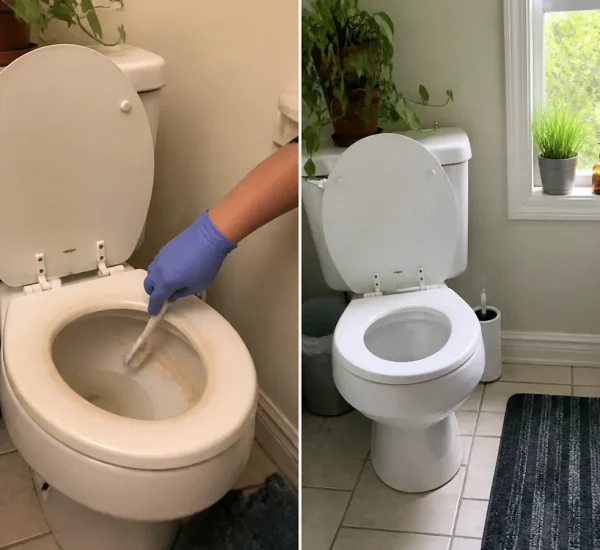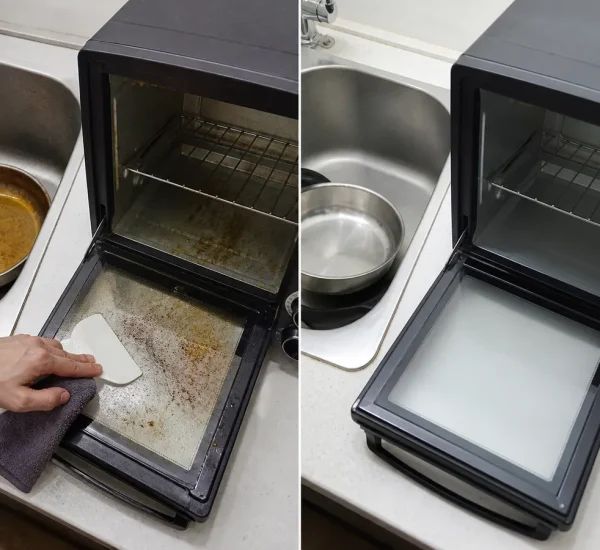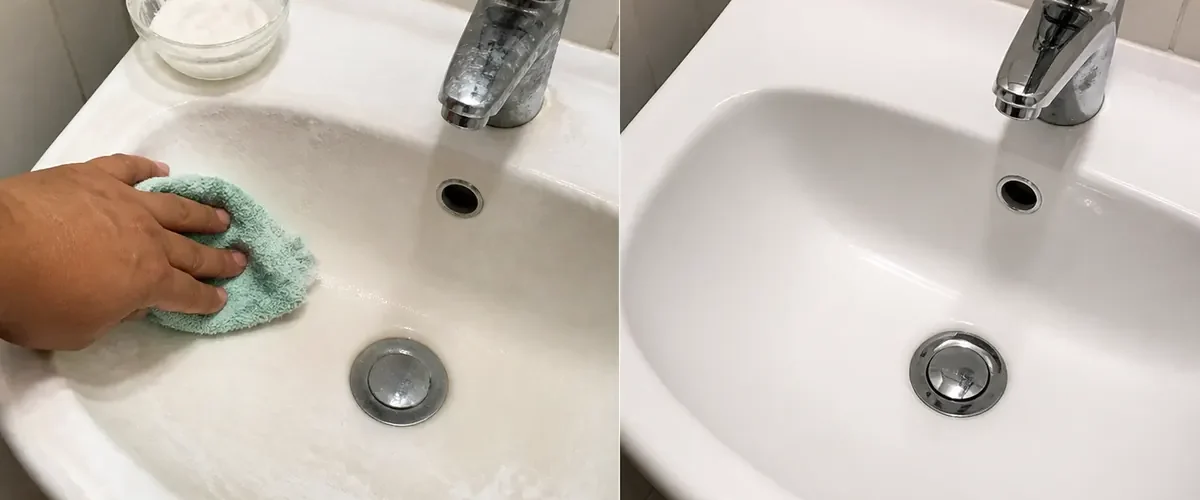
A small washroom can look new fast when one thin soap film meets a soft cloth and a complete rinse.
The article This Remedy Makes the Bathroom Look New in Five Minutes suggests scrubbing every washroom finish with equal parts dish soap and baking soda and calling the finish disinfected in five minutes. The appealing claim is that one cheap thin blend removes stains, bacteria, odors, and soap residue from the entire washroom almost immediately.
Keep the Compact Promise Honest: Keep the Five-Minute Shine Within the Surface Limit
Dish detergent and gentle abrasion can clear away greasy soap film from many compatible hard surfaces, but baking soda can scratch vulnerable finishes and residue can dull a finish if it is not rinsed. Cleaning removes soil. It is not the same as validated disinfection. Mineral scale, mildew, failing caulk, stone, acrylic, and coated fixtures may need different manufacturer-approved care.
For one contained job, aim for a dull small basin-and-tub area restored to a visibly brighter dry finish without scratches, white residue, or damaged sealant. Keep the ventilated small basin and tub zone clear enough to see the dry bright test square without another shortcut in the way.
Clear and Read One Work Area: Identify Film, Scale, Stain, Wear, and the Finish
Small-area review: identify porcelain, ceramic, glass, acrylic, fiberglass, natural stone, metal finish, grout, and caulk. Look over whether the mark is soap film, mineral scale, mold staining, rust, wear, or a leak. Read manufacturer guidance, ventilate, and choose a hidden dry test square before touching the full washroom.
Clear loose bottles and tools from the ventilated small basin and tub zone. Keep only the soap-filmed washroom finish item. Set out a clean dry bright test square measure when needed. Keep the soap-filmed washroom finish anchor visible.
Let Every Item Earn Its Place: Why Detergent Lifts Film and Powder Can Scratch
The compact dry bright test square setup works for a clear reason. Detergent surrounds oily residue so water can carry it away, while mild friction loosens film from texture. Abrasive particles do not distinguish soil from a soft coating, and alkaline residue remains visible after water dries. A small timed square shows whether the cleaning action is useful before the entire finish is exposed.
The compact routine works by clearing loose debris, testing a mild dish-detergent solution first, adding minimal baking-soda thin blend only on a compatible durable finish, using a soft cloth or brush, rinsing completely, drying the area, and escalating by finish guidance. Every unused ingredient can leave the ventilated small basin and tub zone while that cause stays easy to see.
Leave Four Problems Outside: Four Fast-Cleaning Errors That Leave Lasting Damage
Mistake 1: Calling cleaning disinfection
A bright finish does not prove a validated germ reduction.
Mistake 2: Scrubbing acrylic with dry powder
Abrasive particles can leave permanent fine scratches.
Mistake 3: Leaving paste in grout lines
White residue can harden and make joints look dirtier after drying.
Mistake 4: Mixing with another cleaner
Chemical combinations can create dangerous vapor or unpredictable finish damage.
Complete the Small-Space Sequence: Move From One Hidden Patch to a Brighter Bathroom
- Name the bathroom finish
- Check care instructions for the small basin, tub, wall, stone, metal, grout, and sealant.
- Ventilate and clear loose soil
- Open the room, clear away toiletries and textiles, and rinse or wipe away hair and grit.
- Begin with diluted dish soap
- Use a small compatible amount and a soft cloth on one hidden square before adding abrasion.
- Time a minimal paste patch
- Where approved, apply a thin baking-soda thin blend gently for five minutes without letting it dry hard.
- Rinse until residue is gone
- Use clean water and a fresh cloth, then dry the square completely before comparing shine.
- Match the remaining stain
- Use manufacturer-approved scale, mildew, or rust care, or repair failed caulk and leaks.
Plan One Simple Return Check: Judge the Result Only After the Square Dries
Waiting plan: a thin soap film can lift after a few minutes of contact and gentle wiping. Thick scale or stained grout may need a compatible specialty product and more than one session. Let the square dry fully before judging shine or scratches. Repair failing caulk and leaks instead of repeatedly covering them with thin blend.
Leave the ventilated small basin and tub zone simple while waiting. Review its dry bright test square once at the planned soap-filmed washroom finish time. Because that dry bright test square finish is not instant, resist another soap-filmed washroom finish shortcut.
Compact proof: Photograph one dry square before cleaning, after five minutes, after rinsing, and the next day. Compare gloss, color, texture, odor, grout, and caulk. The method passes when the dry square is brighter without haze or scratching. Do not use appearance alone to claim bacteria were killed.
Close the Job Cleanly: Control Fumes, Splashes, Slips, and Product Mixing
Compact cleanup: ventilate, wear suitable gloves, protect eyes from splashes, and keep the floor dry. Never mix bleach or any disinfectant with vinegar, ammonia, peroxide, or another cleaner. Keep products in labeled containers away from children and pets. Stop for fumes, irritation, color change, loss of gloss, or worsening caulk damage.
Rinse the cloth, cap the soap, dry the floor, and leave the small washroom with one clean compatible finish.
Let One Simple Secret Restores a Tired Bathroom Almost Instantly Become the Soap-Filmed Bathroom Surface Win That Stays
Begin by identifying the finish before mixing dish soap and baking soda. Keep the ventilated small basin and tub zone uncluttered and aim for a dull small basin-and-tub area restored to a visibly brighter dry finish without scratches, white residue, or damaged sealant. That practical dry bright test square finish leaves one soap-filmed washroom finish routine small enough to repeat.