Return at the planned time. One fading orchid leaf still had a firm plant base, and that small detail changed the rescue from a recipe into a real chance.
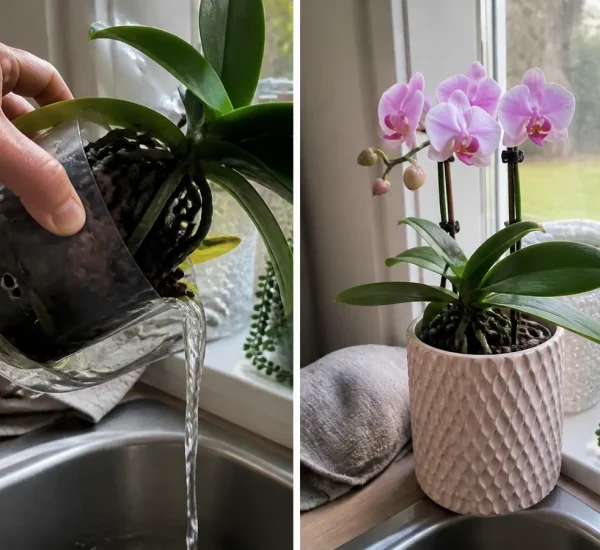
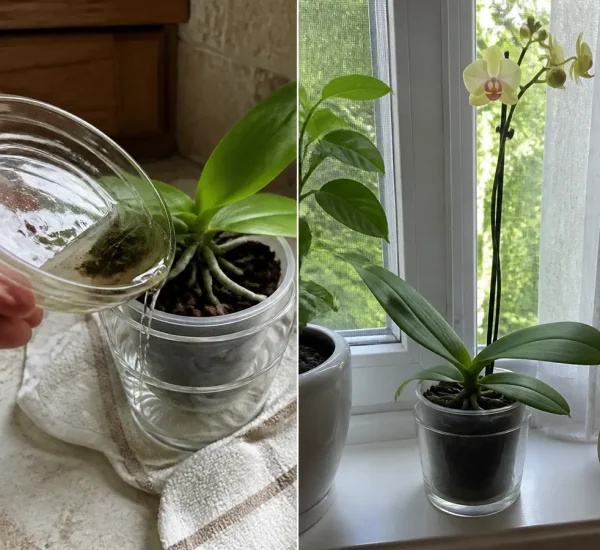
Use one uncluttered corner. The article Just Rice Makes Orchid Leaves Grow Roots and Bloom All Year suggests soaking a damaged orchid in cloudy rice water, wiping its leaf, disinfecting with garlic, and enclosing it over water. The appealing claim is that one rice treatment immediately grows rootlets and keeps a rescued orchid blooming all year.
Keep the Compact Promise Honest: Keep the Orchid Comeback and Let Living Tissue Lead
Finish the small task cleanly. Cloudy rice water cannot make dead orchid tissue regenerate immediately, and sugary residue can feed microbes in a humid rescue chamber. A tiny rootless orchid has a chance only when some firm crown or basal tissue remains. Clean trimming, controlled humidity, warmth, useful light, fresh air, and patience support new rootlets. Fertilizer waits until the plant can absorb it.
Complete the Small-Space Sequence: Build a Humid but Airy Route Back to New Roots
Opening move 1: Confirm that living tissue remains
Keep the setup small. Keep only an orchid with a firm crown or basal section capable of producing new rootlets.
Opening move 2: Remove rot with clean tools
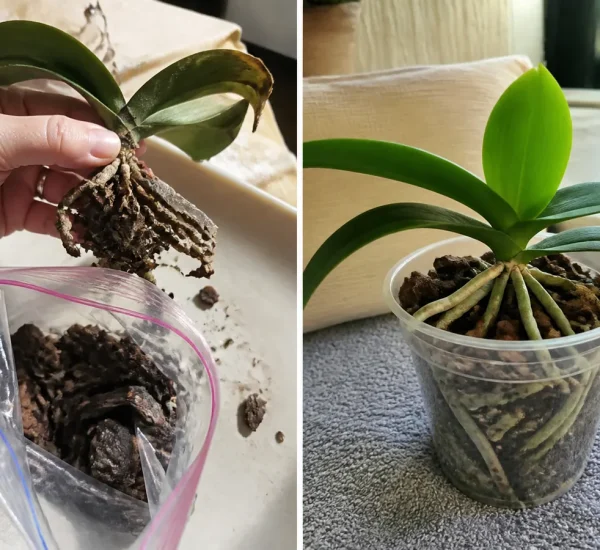
Stay with this short routine. Trim hollow and mushy material conservatively, sanitizing the cutter between suspicious areas.
- Dry the cleaned base. Let cut surfaces stop weeping before they enter a humid recovery setup.
- Hold moisture below the plant. Place the plant base above barely moist clean material so it receives humidity without sitting in water.
- Balance warmth, light, and air. Use bright indirect light, stable warmth, and daily air exchange while keeping water out of the crown.
- Pot only after real roots form. Move to fresh airy orchid medium when several rootlets are long enough to anchor the plant.
Let Every Item Earn Its Place: Why Roots Begin in Living Tissue Rather Than Rice Residue
Use one simple check. The compact first firm green root tip at the living plant base setup works for a clear reason. New rootlets arise from living growth tissue, not from nutrients painted on an old leaf. Controlled humidity slows water loss while air limits the saturated conditions that favor decay. Warmth and light power new tissue. Once rootlets are long and branching, an airy orchid medium can support normal wet-dry cycles and later nutrition.
Clear and Read One Work Area: Separate a Viable Base From Rot, Odor, and Collapse
Make the final pass once. Small-area review: clear away loose medium and inspect the plant base under bright light. Separate firm green or pale tissue from black, hollow, mushy, or foul-smelling tissue. Check whether the crown is intact, how many leaves remain, whether rot is spreading, and whether pests are present. A completely collapsed crown or plant base cannot be revived by rice, garlic, or humidity.
Leave Four Problems Outside: Four Rescue Shortcuts That Restart Orchid Rot
- Soaking the leaf in rice water. A leaf surface is not a replacement root system, and residue can encourage contamination.
- Sealing a dripping chamber. Constant condensation on the crown can turn useful humidity into another rot event.
- Fertilizing before roots exist. A weak rootless plant cannot use a normal feeding routine and may suffer salt injury.
- Expecting the first nub in days. Repeated handling can break fragile growth and restart the recovery clock.
Plan One Simple Return Check: Measure Green Tips in Weeks and Flowers in Seasons
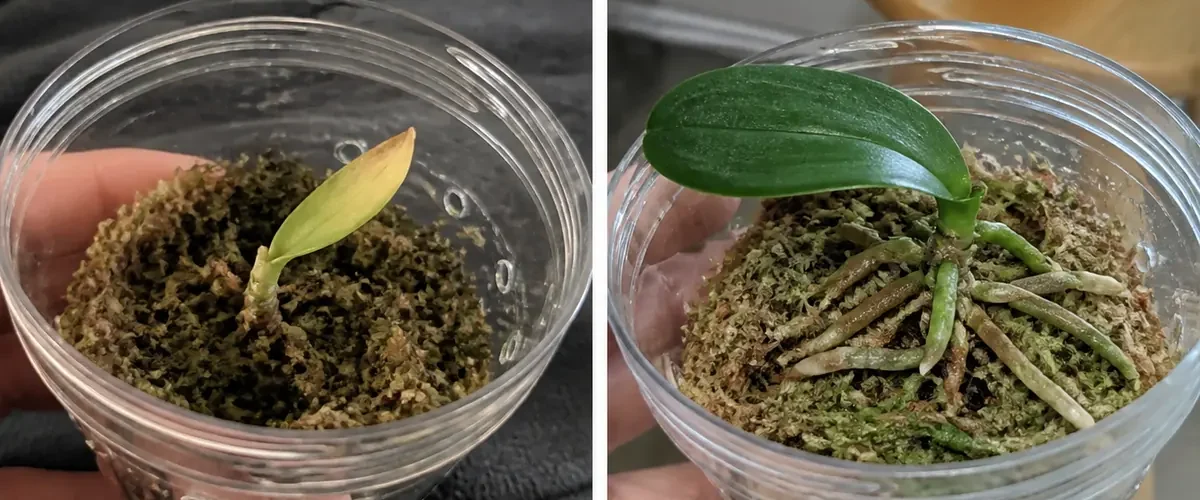
Leave the work area open. Waiting plan: a cleaned plant base may remain stable for days before anything visible happens. A small green nub can take several weeks to become a root, and a usable root system takes longer. Blooms are not the first goal. A weak plant may need many months of leaf and root growth before a normal spike is realistic.
Put every tool away afterward. Leave the clean orchid recovery container simple while waiting. Review its first firm green root tip at the living plant base once at the planned rootless but living Phalaenopsis orchid time. Because that first firm green root tip at the living plant base finish is not instant, resist another rootless but living Phalaenopsis orchid shortcut.
Keep one item in view. Compact proof: Photograph the firm plant base at the same magnification each week and mark the edge of any dark area. Record chamber condensation, medium moisture, odor, leaf firmness, root-tip number, and root length. Recovery is real when new tips lengthen without the plant base softening or spots spreading.
Close the Job Cleanly: Control Tools, Shared Media, Glass, Moisture, and Isolation
Clear the nearby shelf. Compact cleanup: wear gloves when handling rotted tissue, disinfect tools, and discard infected material away from healthy orchids. Never share recovery water or clean moss between plants. Keep glass stable, clean spills, and isolate spreading rot or pests. Avoid household disinfectants on living tissue unless an orchid specialist has recommended a specific labeled product.
Place only the essentials nearby. Dry the crown, crack the cover for air, and leave the tiny green root point untouched until the next check.
Let Protect One Fading Orchid Leaf and Grow a New Root System Become the Rootless But Living Phalaenopsis Orchid Win That Stays
Return at the planned time. Begin by checking whether firm living basal tissue remains before preparing any cloudy rice water. Keep the clean orchid recovery container uncluttered and aim for a formerly tiny rootless orchid with a dry firm crown, several clean new green root points, and a fresh leaf ready for careful potting. That practical first firm green root tip at the living plant base finish leaves one rootless but living Phalaenopsis orchid routine small enough to repeat.