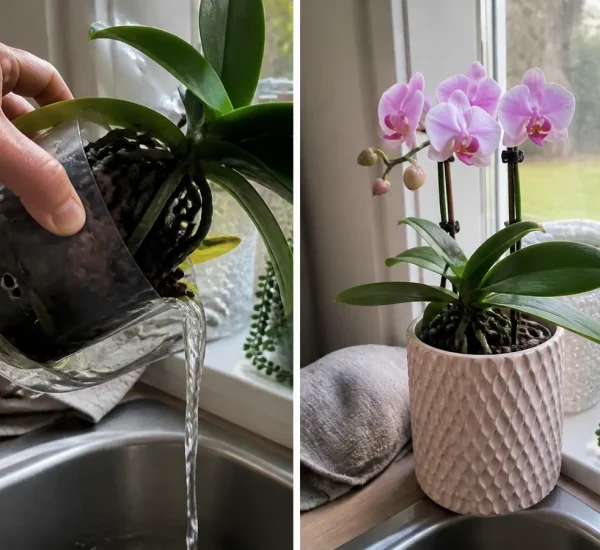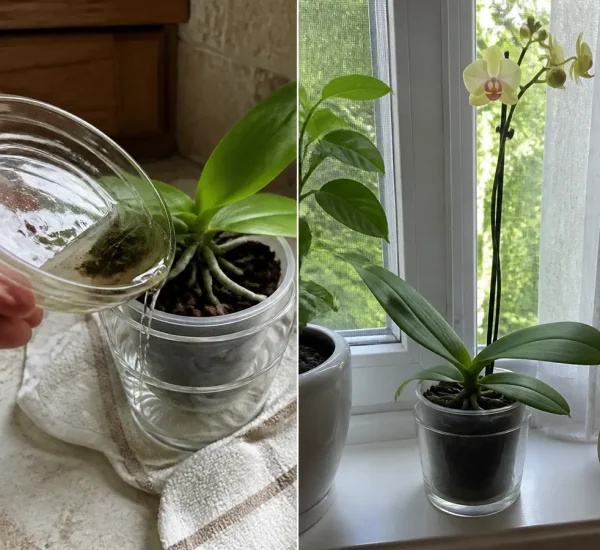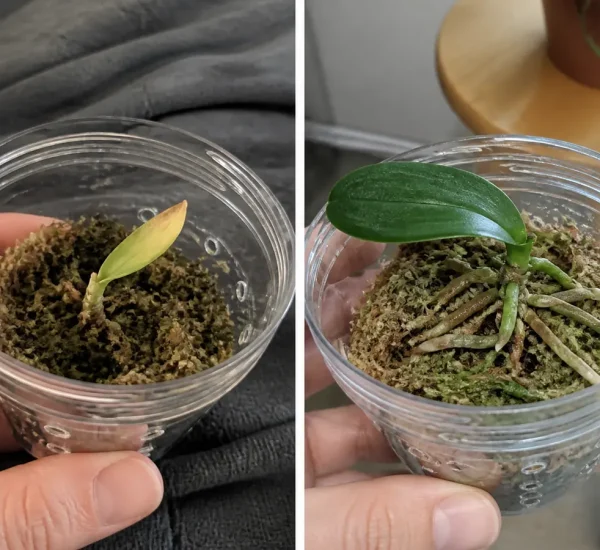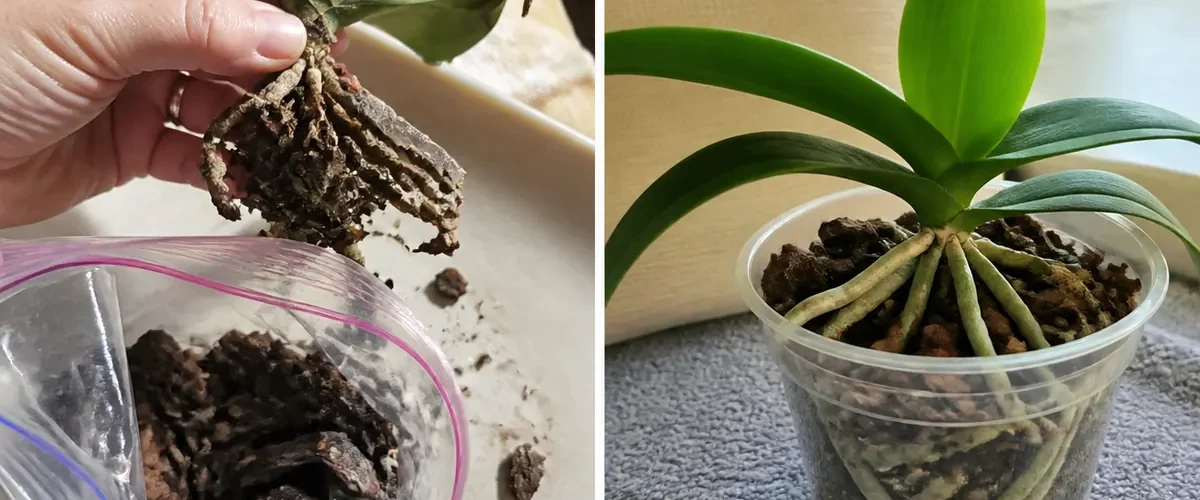
Keep one item in view. One dying orchid gets a better chance on a clean isolated tray than in a sweet jar beside healthy plants.
Clear the nearby shelf. The article How to Strengthen Dying Orchids With a Natural Effective Method suggests soaking rootlets in rice cooking water and spraying the entire orchid with hot-steeped banana liquid. The appealing claim is that two natural ingredients quickly revive orchids dying from fungus or parasites.
Keep the Compact Promise Honest: Keep the Orchid Comeback and Diagnose the Threat First
Place only the essentials nearby. Rice and banana liquid cannot diagnose fungus, insects, salt injury, sunburn, or root rot. Food residue on a wet weak orchid can feed microbes and hide deterioration. Rescue begins with isolation, pest identification, removal of dead tissue, fresh air, a clean root zone, and a labeled treatment only when the cause supports it.
Return at the planned time. For one contained job, aim for an isolated orchid with the rot boundary stopped, clean firm surviving rootlets, and several fresh green tips growing in airy medium. Keep the isolated orchid treatment tray clear enough to see the clean firm root tip after the damaged boundary stops spreading without another shortcut in the way.
Complete the Small-Space Sequence: Rebuild the Root Zone Without Rice or Banana Residue
- Isolate and photograph the plant
- Move it from healthy orchids and capture the damage before cleaning.
- Identify pest, rot, or stress
- Use magnification and root inspection rather than assuming fungus.
- Remove failed tissue and medium
- Sanitize between cuts and preserve every firm living root.
- Restore air around the roots
- Repot in fresh appropriate bark and keep water out of the crown.
- Treat only the confirmed cause
- Follow a labeled pest or disease product when identification supports it.
- Wait for active roots before feeding
- Use new green tips as the signal for cautious complete nutrition.
Plan One Simple Return Check: Watch the Damage Boundary Before Counting Fresh Roots
Use one uncluttered corner. Waiting plan: cleaning and isolation happen immediately. A true pest treatment follows its label and life-cycle schedule. Rot damage does not turn green again, but its boundary should stop advancing. Fresh root tips take weeks. Blooms can wait months while the orchid rebuilds leaves and rootlets.
Finish the small task cleanly. Compact proof: Mark the dark boundary and photograph it every few days. Record pest counts, treatment dates, odor, root firmness, and new tip length. Rescue succeeds when damage stops spreading and clean new tissue grows without another food spray.
Leave Four Problems Outside: Four Natural Rescue Moves That Feed the Wrong Problem
- Soaking rot in cooking water. Starch residue and more moisture can worsen microbial conditions.
- Spraying the whole plant with banana. Food residue collects in leaf joints and does not kill identified pests.
- Treating every spot as fungus. Sun, salts, bacteria, insects, and physical damage look different.
- Returning it to the collection early. Hidden pests can spread before the final life stage is controlled.
Clear and Read One Work Area: Separate Pests, Rot, Salt, Sun, Injury, and Old Damage
Keep the setup small. Small-area review: inspect leaves, crown, rootlets, bark, and container with magnification. Look for scale, mealybugs, mites, webbing, sticky residue, moving insects, soft dark tissue, odor, salt crust, sun patches, and crown water. Photograph the boundary and confirm whether damage is active before choosing a treatment.
Let Every Item Earn Its Place: Why Isolation, Air, and Targeted Control Stop Decline
Stay with this short routine. The compact clean firm root tip after the damaged boundary stops spreading setup works for a clear reason. Rot thrives where damaged tissue stays wet and oxygen is limited. Many pests hide in joints or rootlets and require specific control. Cleaning and air clear away favorable conditions, while targeted treatment reaches the actual cause. Sugary or starchy residue adds organic food without restoring dead tissue.
Use one simple check. The compact routine works by isolating the orchid, identifying the cause, removing failed medium, trimming only dead rootlets with sterilized tools, keeping the crown dry, repotting into airy fresh bark, correcting water and light, using a labeled pest or disease product only when appropriate, and delaying fertilizer until active rootlets return. Every unused ingredient can leave the isolated orchid treatment tray while that cause stays easy to see.
Close the Job Cleanly: Control Tools, Pesticides, Waste, Mixing, and Quarantine
Make the final pass once. Compact cleanup: wear gloves, disinfect tools, and discard infected medium in a sealed bag. Follow pesticide labels and keep products from children, pets, food, and waterways. Never mix plant treatments. Maintain isolation until follow-up inspection is clean, and seek expert diagnosis for valuable or rapidly collapsing plants.
Leave the work area open. Seal the old bark, rinse the tray, dry the crown, and keep the recovering orchid alone.
Let Rescue This Dying Orchid by Fixing the Root Zone First Become the Declining Orchid With Suspected Rot Or Pests Win That Stays
Put every tool away afterward. Begin by isolating the plant and confirming rot or pests before soaking it in rice and banana liquid. Keep the isolated orchid treatment tray uncluttered and aim for an isolated orchid with the rot boundary stopped, clean firm surviving rootlets, and several fresh green tips growing in airy medium. That practical clean firm root tip after the damaged boundary stops spreading finish leaves one declining orchid with suspected rot or pests routine small enough to repeat.