A nearly rootless shelf orchid needs one clean chance, not a glass jar packed with wet moss.
The article You Will Never Throw Away Old Orchids After Seeing This Trick suggests soaking a nearly dead shelf orchid, wrapping its fragile roots in wet sphagnum, and waiting in glass as though every old plant must recover. The appealing claim is that a dry shelf orchid that looks dead can always be restored quickly with distilled water and constantly damp moss.
Keep the Compact Promise Honest: Let Living Tissue Decide Whether Rescue Is Possible
An shelf orchid cannot return after all crown, rhizome, or stem tissue is dead, yet a plant with a firm living section may surprise its owner. Recovery requires a viability check, removal of dead fragile roots, fresh bark mix, humidity with airflow, and moisture matched to the remaining fragile roots. A permanently wet glass container can restart rot.
For one contained job, aim for an old leafless-looking shelf orchid secured in a tiny ventilated container with one firm crown section and two fresh green root beginnings. Keep the recovery shelf clear enough to see the living crown edge without another shortcut in the way.
Let Every Item Earn Its Place: Why Humidity Helps Only When Air Still Moves
The compact living crown edge setup works for a clear reason. A rootless shelf orchid loses water faster than it can replace it, so moderate humidity reduces stress. The remaining crown still needs oxygen, however, and saturated moss encourages decay. A close ventilated setup keeps a small moisture reserve near living tissue while allowing air to move. New fragile roots are the plant’s own recovery engine.
The compact routine works by isolating the plant, confirming living crown or rhizome tissue, trimming only dead fragile roots with sterile tools, choosing fresh airy bark mix and a tiny container, raising humidity without sealing stagnant moisture, and waiting for a genuine root or shoot. Every unused ingredient can leave the recovery shelf while that cause stays easy to see.
Leave Four Problems Outside: Four Hopeful Moves That Can Finish the Plant
Mistake 1: Assuming every old orchid is alive
A fully dead crown cannot regenerate, and keeping it wet only grows decay.
Mistake 2: Soaking roots for long periods
Water cannot revive dead tissue and can soften the remaining viable base.
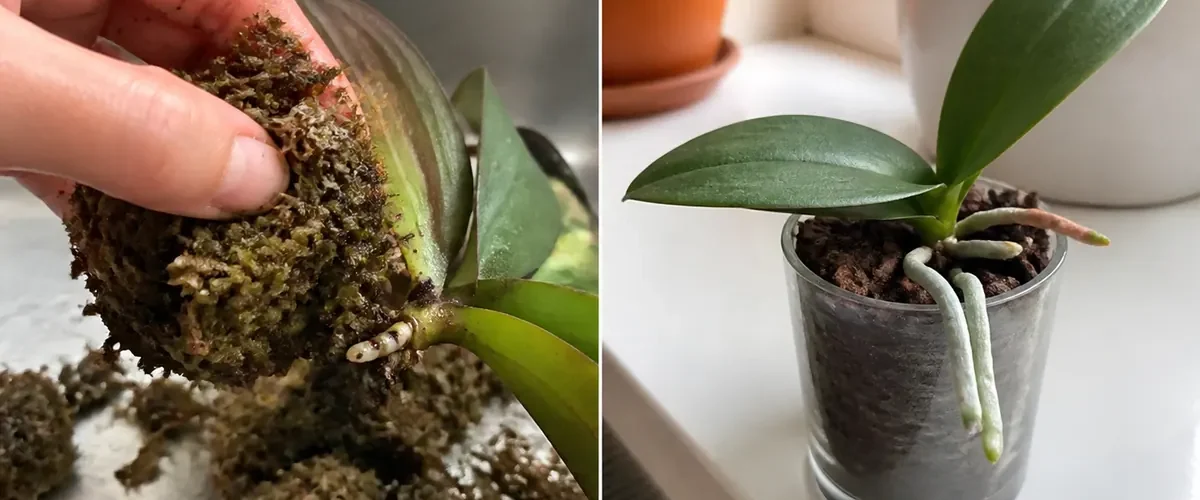
Mistake 3: Wrapping the crown in wet moss
Constant contact blocks air and invites the same rot that removed the fragile roots.
Mistake 4: Checking by unpotting every day
Repeated movement breaks fragile new root nubs before they establish.
Plan One Simple Return Check: Wait for a Root Nub Instead of Instant Flowers
Waiting plan: the viability decision and cleanup happen on day one. A viable plant may sit almost unchanged for weeks before a root nub or growth eye moves. Building a usable root system can take months, and flowering comes later. If soft rot expands or no living tissue remains, responsible disposal is the correct finish.
Leave the recovery shelf simple while waiting. Review its living crown edge once at the planned rootless shelf orchid time. Because that living crown edge finish is not instant, resist another rootless shelf orchid shortcut.
Compact proof: Draw a small circle around each viable node in the first photograph. Recheck weekly without unpotting the plant. A swelling growth eye, firm crown, or extending root nub is proof. Temporary leaf wetness, condensation on glass, and green algae are not signs that the shelf orchid itself has recovered.
Clear and Read One Work Area: Read the Crown, Rhizome, Roots, and Remaining Nodes
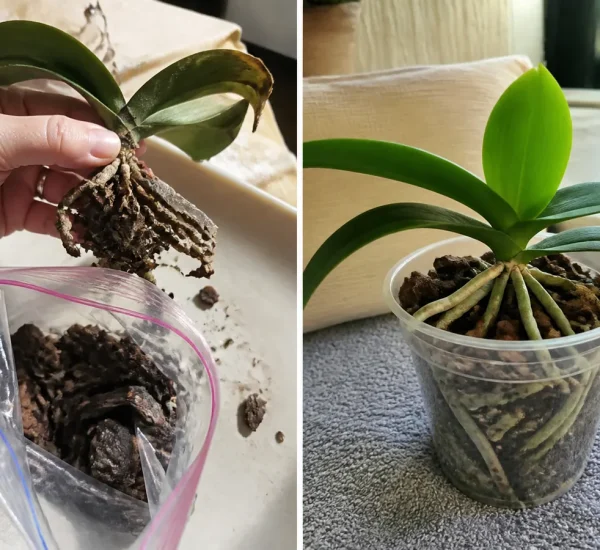
Small-area review: isolate the shelf orchid and identify its growth type. Press the crown or rhizome gently, look over fragile roots, and look for firm green, cream, or pale tissue beneath dry coverings. Check for foul odor, black spreading areas, pests, dead pseudobulbs, old media, and whether any leaf base or node remains alive.
Clear loose bottles and tools from the recovery shelf. Keep only the rootless shelf orchid item. Set out a clean living crown edge measure when needed. Keep the rootless shelf orchid anchor visible.
Complete the Small-Space Sequence: Give the Old Orchid One Controlled Recovery Attempt
- Quarantine before the inspection
- Move the old shelf orchid away from healthy plants and use a washable surface for the entire evaluation.
- Search for one firm living section
- Check the crown, rhizome, pseudobulb, nodes, and root cores. Stop if all tissue is hollow, black, or foul.
- Cut back to a clean boundary
- Clear away soft dead fragile roots in small stages and sterilize the cutter between suspicious areas.
- Fit the smallest recovery pot
- Anchor surviving tissue above fresh airy shelf orchid bark mix without burying a crown or packing wet moss tightly.
- Balance humidity with movement
- Use gentle room humidity and indirect light, but keep vents open and prevent condensation from sitting on the plant.
- Wait for the plant’s own signal
- Water sparingly for the root mass present, avoid fertilizer, and resume normal care only after new fragile roots extend.
Close the Job Cleanly: Contain Mold, Rot, Sharp Tools, and Wet Surfaces
Compact cleanup: wear gloves, ventilate the work area, and avoid breathing mold from old bark mix. Sterilize the cutter between cuts and plants, bag infected waste, and dry spilled water. Keep improvised humidity covers away from heaters, lamps, children, and pets.
Bag the old bark, wash the cutter, open the vent, and leave the tiny recovery container undisturbed.
Let Fresh Roots Can Bring This Nearly Lost Orchid Back Become the Rootless Orchid Win That Stays
Begin by testing the crown and fragile roots for firm living tissue. Keep the recovery shelf uncluttered and aim for an old leafless-looking shelf orchid secured in a tiny ventilated container with one firm crown section and two fresh green root beginnings. That practical living crown edge finish leaves one rootless shelf orchid routine small enough to repeat.