One glass orchid looks effortless only when its water line, roots, crown, and cleaning routine are kept visibly simple. How to Grow Orchids in Water-Filled Pots for Extended Bloom and Durability presents all orchid roots being submerged continuously inside a transparent water-filled pot and claims that water-filled pots prevent rot, reduce care, and keep many orchids blooming much longer.
A contained transition can deliver an orchid holding firm clean roots and a long-lasting flower display in a carefully managed water setup.
Set One Honest Orchid Water-Culture Transition Window Promise
Inside this compact setup, deep submersion can starve epiphytic roots of oxygen and rot the crown. Water culture is not easier or suitable for every orchid. A healthy candidate, clean vessel, shallow or timed root contact, water renewal, dilute complete nutrition, airflow, and a stop rule make a cautious transition possible.
For one contained setup, the result to chase is an orchid holding firm clean roots and a long-lasting flower display in a carefully managed water setup. Keep every move tied to a suitable orchid adapting gradually to a clean oxygen-aware water routine while crown and living root tips stay dry, firm, and visible, so the method remains easy to stop, clean, and repeat.
The Six-Move Orchid Water-Culture Transition Window Routine
Compact Move 1: Choose a strong transition candidate
In the compact setup, start with a healthy identified orchid, preferably after flowering, with several firm roots and a sound crown.
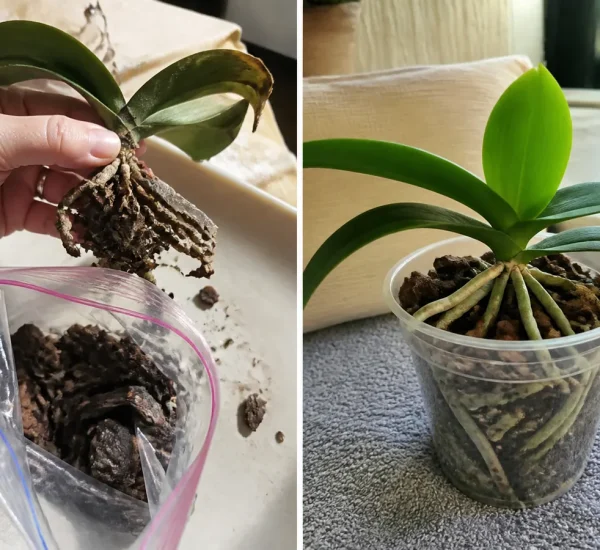
Compact Move 2: Remove old media without stripping roots
In the compact setup, soak if needed, ease bark away, trim only hollow or rotten tissue with sterile tools, and rinse debris gently.
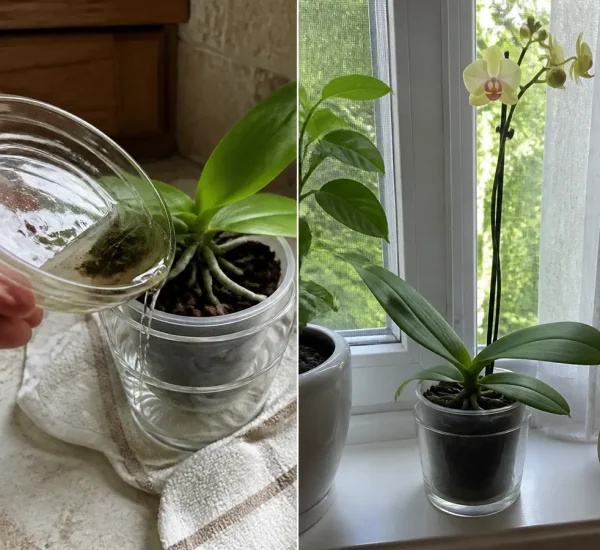
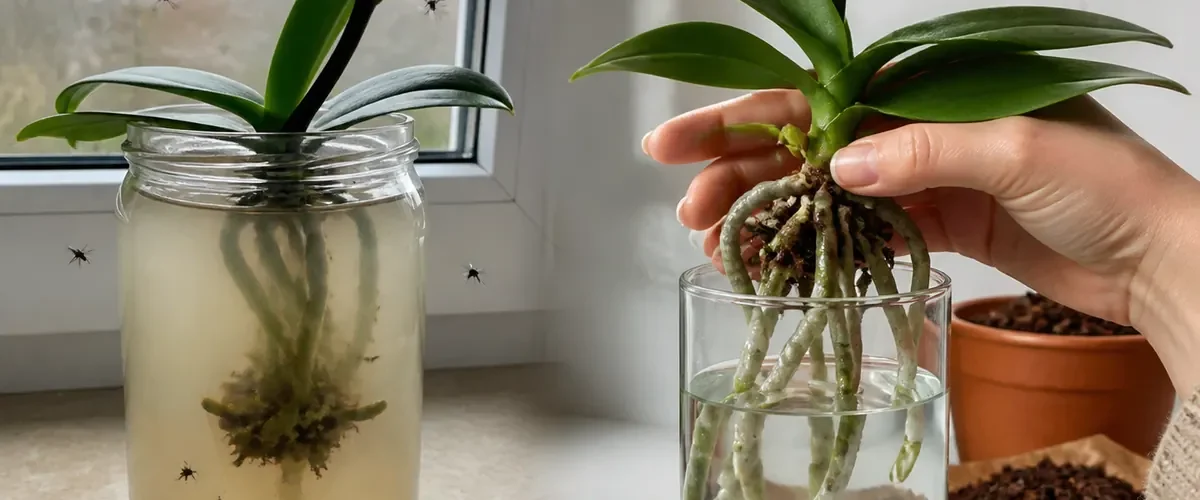
- Set a conservative water line. Support the plant securely with the crown dry and let only the lowest root ends contact clean water, or use a planned wet-dry cycle.
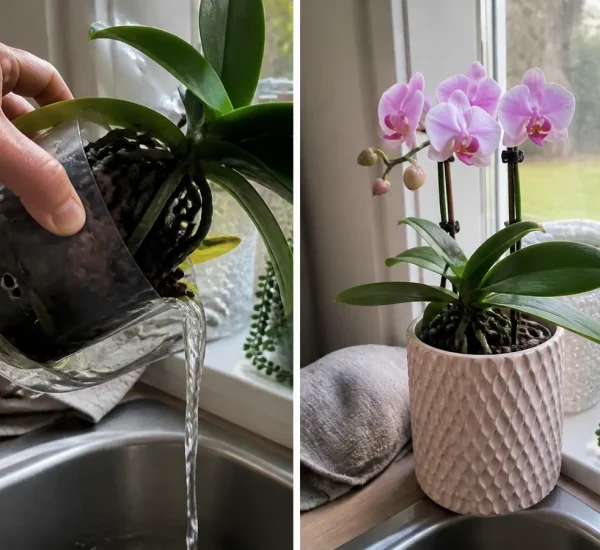
- Renew water before it turns stale. Use suitable low-mineral water, wash the vessel, watch temperature and algae, and never top up indefinitely over decomposing residue.
- Feed the new roots lightly. After active tips appear, use a complete orchid fertilizer at label-supported dilute strength and flush accumulated minerals regularly.
- Keep a return-to-bark rule. Move back to a suitable airy medium if odor, spreading softness, crown trouble, or continuing root loss outweighs healthy new adaptation.
Compact Setup: Clear a Small Work Zone and Inspect the Evidence (5)
For the compact orchid water-culture transition window check, identify orchid genus, then inspect crown, leaf firmness, active tips, velamen, damaged roots, potting history, bloom stage, water quality, residue, vessel depth, water line, temperature, humidity, airflow, light, fertilizer, algae, odor, and root change.
While testing orchid water-culture transition window, keep nearby plants, food, tools, and personal items outside the work area. One clear before photograph and one marked check point are enough to make the compact result honest.
Compact Setup: Plan the Wait Without Filling the Space Again (5)
For this small orchid water-culture transition window setup, a transferred orchid may shed bark-adapted roots before producing roots suited to new moisture. Transition takes weeks or months and can interrupt bloom. Future flowering still depends on species, season, light, temperature, and strength.
During the orchid water-culture transition window wait, leave only the essential setup in place. Do not add a second remedy because the final transformation needs more time than the first visible change.
Compact Setup: Make Every Material Earn Its Space (5)
Start with choose a strong transition candidate, remove old media without stripping roots, set a conservative water line; they address the cause before another bottle, pot, or tool is added. Return unused materials to storage as soon as the first correction is complete.
Finish with renew water before it turns stale, feed the new roots lightly, keep a return-to-bark rule. That compact chain supports a suitable orchid adapting gradually to a clean oxygen-aware water routine while crown and living root tips stay dry, firm, and visible and leaves the small area with an orchid holding firm clean roots and a long-lasting flower display in a carefully managed water setup, not a second cleanup project.
Compact Setup: Finish With a Clean and Safe Small Space (5)
For a safe compact orchid water-culture transition window routine, use stable glass, disinfect tools, and discard foul water hygienically. Follow fertilizer labels, protect children and pets from vessels and products, and isolate suspected disease.
After orchid water-culture transition window, remove waste, drain only where permitted, clean the tools, and return the area to normal use. The method has not worked if it leaves a hidden hazard behind.
Keep These Four Orchid Water-Culture Transition Window Problems Out
- submerging every root. For orchid water-culture transition window, it adds clutter without solving the strongest limit.
- wetting the crown. For orchid water-culture transition window, it can spread residue, moisture, pests, or stress beyond the test area.
- transferring a collapsing orchid. For orchid water-culture transition window, it turns one contained routine into repeated cleanup.
- leaving stale fertilizer water. For orchid water-culture transition window, it sacrifices a stable result for a fast-looking change.
Try Growing Orchids in Water and Watch Their Blooms Last Longer: Keep the Compact Win
Keep the routine only when it leaves an orchid holding firm clean roots and a long-lasting flower display in a carefully managed water setup inside the same clean footprint. Start at choose a strong transition candidate, remove everything that did not help, and repeat the smallest successful version when the next normal-care cycle calls for it.