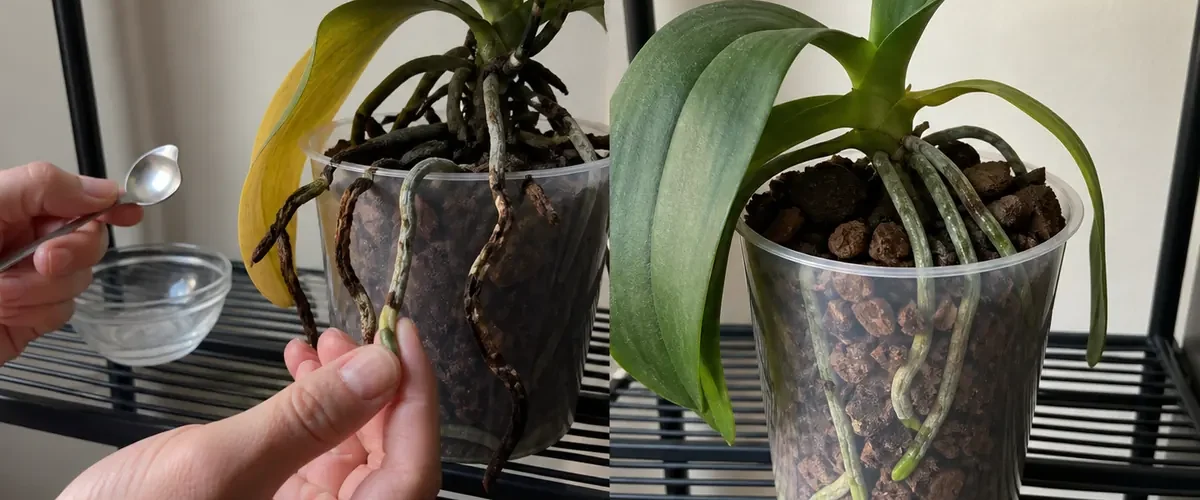
A sugar spoon beside a fading orchid adds clutter and microbes when the surviving growth point needs air. Dead Orchid? One Pinch Can Revive It presents a pinch of glucose or sugar water being used as fertilizer, followed by milk on yellowing leaves and claims that one sweet pinch strengthens orchid immunity and quickly brings a dying yellow plant back to life.
A contained root rescue can deliver a fading orchid retaining living tissue, producing firm new root tips, and rebuilding one clean green leaf.
Clear One Yellow-Orchid Root-First Rescue Work Zone
For the compact yellow-orchid root-first rescue check, separate normal old-leaf yellowing from whole-plant decline, then inspect crown firmness, stem color, pseudobulbs, newest leaf, firm and rotten roots, odor, bark age, drainage, standing water, light scorch, cold injury, fertilizer salts, pests, disease, and any sugar or milk residue.
While testing yellow-orchid root-first rescue, keep nearby plants, food, tools, and personal items outside the work area. One clear before photograph and one marked check point are enough to make the compact result honest.
Choose the Small-Space Yellow-Orchid Root-First Rescue Promise
Inside this compact setup, sugar is not complete plant nutrition, and orchid roots normally make and receive carbohydrates through healthy leaves rather than needing glucose poured into bark. Sweet residue can feed bacteria, fungi, and insects. A yellow orchid can recover only if viable crown, stem, pseudobulb, or root tissue remains and the actual cause is corrected.
For one contained setup, the result to chase is a fading orchid retaining living tissue, producing firm new root tips, and rebuilding one clean green leaf. Keep every move tied to preserving every viable orchid growth point and restoring an airy, correctly watered root zone before asking for leaves or flowers, so the method remains easy to stop, clean, and repeat.
Make the Yellow-Orchid Root-First Rescue Fit the Same Footprint
Start with test whether life remains, wash away the sweet pinch, remove only confirmed rot; they address the cause before another bottle, pot, or tool is added. Return unused materials to storage as soon as the first correction is complete.
Finish with build a small recovery chamber, balance light, warmth, and water, wait for one clean signal. That compact chain supports preserving every viable orchid growth point and restoring an airy, correctly watered root zone before asking for leaves or flowers and leaves the small area with a fading orchid retaining living tissue, producing firm new root tips, and rebuilding one clean green leaf, not a second cleanup project.
The Six-Move Yellow-Orchid Root-First Rescue Routine
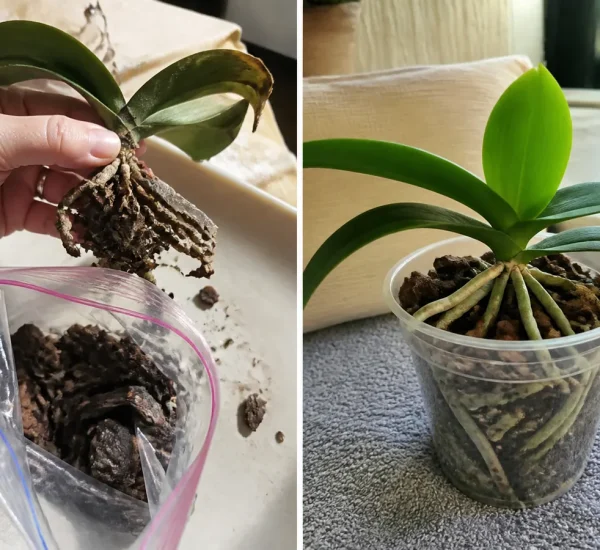
- Test whether life remains. Look for a firm crown, green stem tissue, sound pseudobulb, living roots, or a viable basal growth before calling the plant recoverable.
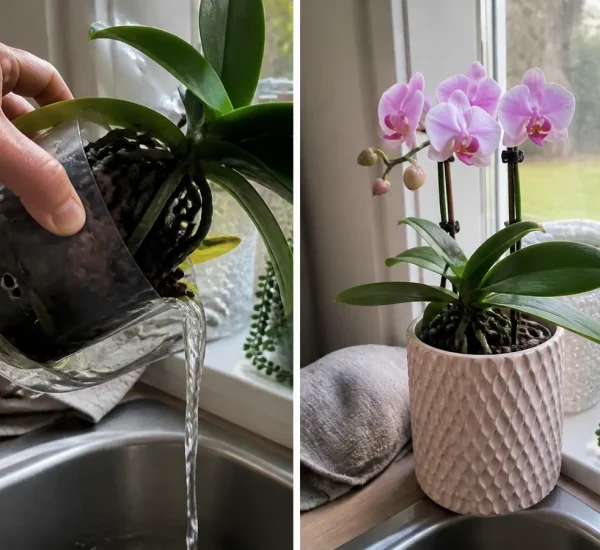
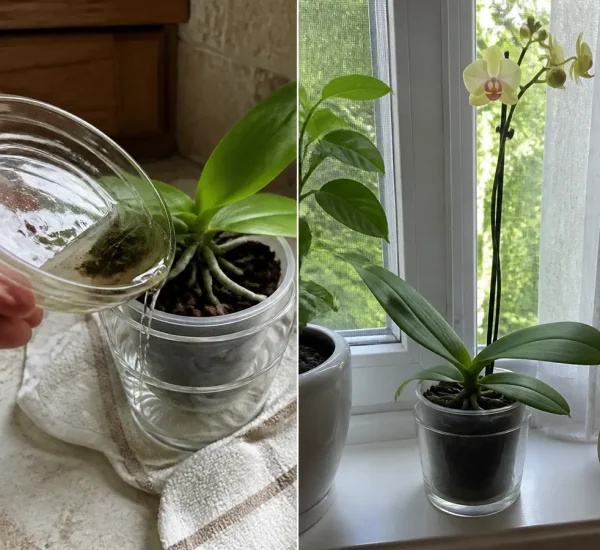
- Wash away the sweet pinch. Rinse glucose, milk, and sticky residue from the plant and pot, keeping clean water out of the crown.
- Remove only confirmed rot. Use sterile tools on hollow, mushy, or foul tissue and stop cutting when firm healthy material remains.
Compact Move 4: Build a small recovery chamber
In the compact setup, pot viable roots snugly in fresh airy medium, stabilize the plant, and provide humidity with airflow rather than enclosure.
Compact Move 5: Balance light, warmth, and water
In the compact setup, use bright indirect species-appropriate light, stable warmth, and full drainage, watering only when root evidence calls for it.
Compact Move 6: Wait for one clean signal
In the compact setup, delay strong fertilizer and flowering pressure until a new root tip or leaf proves active growth, then feed lightly and completely.
Keep These Four Yellow-Orchid Root-First Rescue Problems Out
- feeding sugar to rotten bark. For yellow-orchid root-first rescue, it adds clutter without solving the strongest limit.
- cutting stained but firm roots. For yellow-orchid root-first rescue, it can spread residue, moisture, pests, or stress beyond the test area.
- sealing a wet plant in plastic. For yellow-orchid root-first rescue, it turns one contained routine into repeated cleanup.
- forcing flowers during recovery. For yellow-orchid root-first rescue, it sacrifices a stable result for a fast-looking change.
Wait for the Yellow-Orchid Root-First Rescue Without Adding Clutter
For this small yellow-orchid root-first rescue setup, rinsing sugar and stopping excess water reduce additional risk immediately. Rot does not reverse; it must stop at healthy tissue. Surviving orchids may show a fresh root tip in several weeks and a new leaf over months, while plants with a dead crown and no viable growth point cannot be revived.
During the yellow-orchid root-first rescue wait, leave only the essential setup in place. Do not add a second remedy because the final transformation needs more time than the first visible change.
Close the Yellow-Orchid Root-First Rescue Routine Cleanly
For a safe compact yellow-orchid root-first rescue routine, disinfect tools before and after cuts, wear gloves around rotten tissue, and isolate suspected disease. Discard spoiled mixtures and contaminated medium; keep products and plant waste from children, pets, and food areas.
After yellow-orchid root-first rescue, remove waste, drain only where permitted, clean the tools, and return the area to normal use. The method has not worked if it leaves a hidden hazard behind.
Give a Dying Orchid One Pinch and Watch It Recover: Keep the Compact Win
Keep the routine only when it leaves a fading orchid retaining living tissue, producing firm new root tips, and rebuilding one clean green leaf inside the same clean footprint. Start at test whether life remains, remove everything that did not help, and repeat the smallest successful version when the next normal-care cycle calls for it.